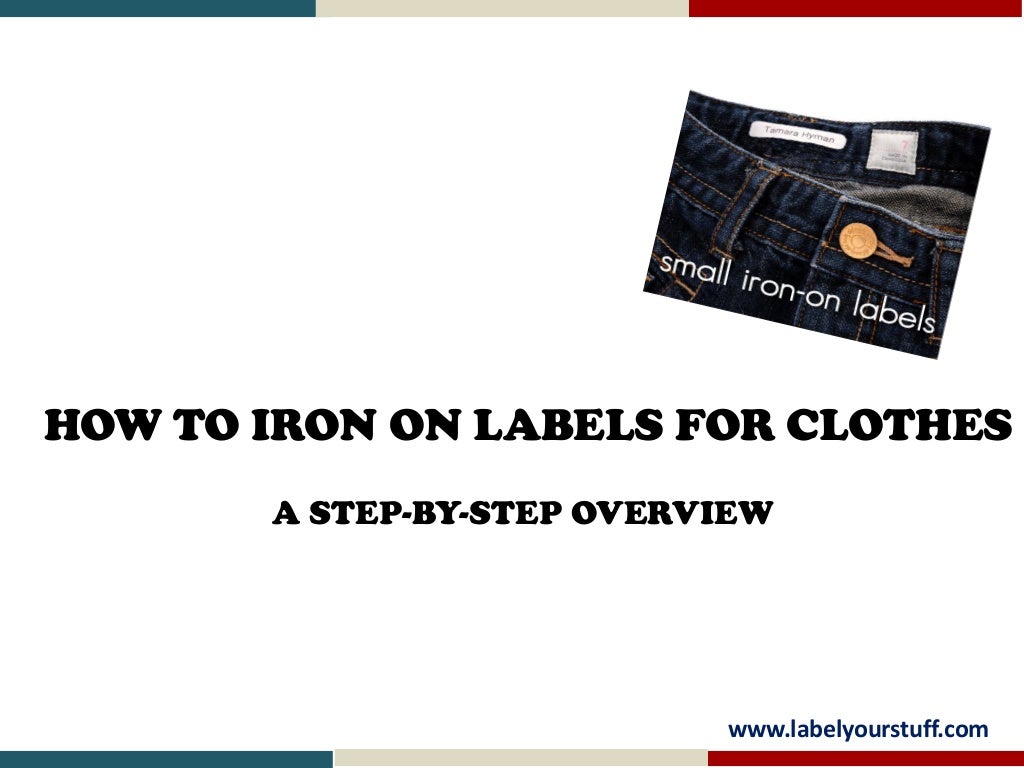
44 instructions for iron on labels
How to Apply Your Iron-on Camp Labels - IronOnCampLabels.com Place label on garment in desired position. Cover label with our pressing parchment square or a thin dry pressing cloth. DO NOT USE A TOWEL. FIRMLY press heated iron on pressing cloth for 10-15 seconds. Verify your application time and iron temperature. Allow garment and label to cool to room temperature. HOW TO IRON-ON WOVEN LABELS AND PATCHES – Labeloom Apply firm pressure straight down with the heated iron for about 45". Do not move the iron side-to-side as you would ordinarily - keep firm and steady. Allow it to cool slightly before proceeding to step 5. STEP 5. Turn the garment inside out and iron the back of the label for an additional 30 seconds. No need to cover this side with a piece of fabric.
DIY Printable Fabric Labels | Easy Iron-On Method If you are going to use fabric and want to make a whole sheet of labels, just iron on the whole sheet and cut afterward. If you are using ribbon, cut the transfer paper into strips the same size as the ribbon. (Anything wider than the ribbon will stick to your ironing board). TRANSFER PAPER APPLICATION Follow the transfer paper instruction.

Instructions for iron on labels
Tips and Information on How to Iron on Clothing Labels Our iron on labels are 100% guaranteed. THE BASICS for most fabrics 1. Heat your standard iron to the cotton setting. Select DRY. No steam. Wait for the iron to fully heat. No automatic temperature irons, as these irons will not heat up enough. More info below. 2. Warm up your material by ironing where the label will go. Instructions for Applying your Iron-on Labels - Iron-on … Cover label with our pressing parchment square or a thin dry pressing cloth. FIRMLY press heated iron on pressing parchment square or a thin dry pressing cloth for 10-15seconds. Verify your application time and iron … Top 5 tips for applying iron on labels - My Nametags 05-07-2021 · Adjust the time you iron on the label according to your iron If your iron does not get to the temperatures indicated when on high heat you must hold it for slightly longer. As we mentioned in the previous point your iron will successfully melt the hot-melt glue when it gets to temperatures from 150 to 170 °C and is held for 8-15 seconds but irons are not all the same so …
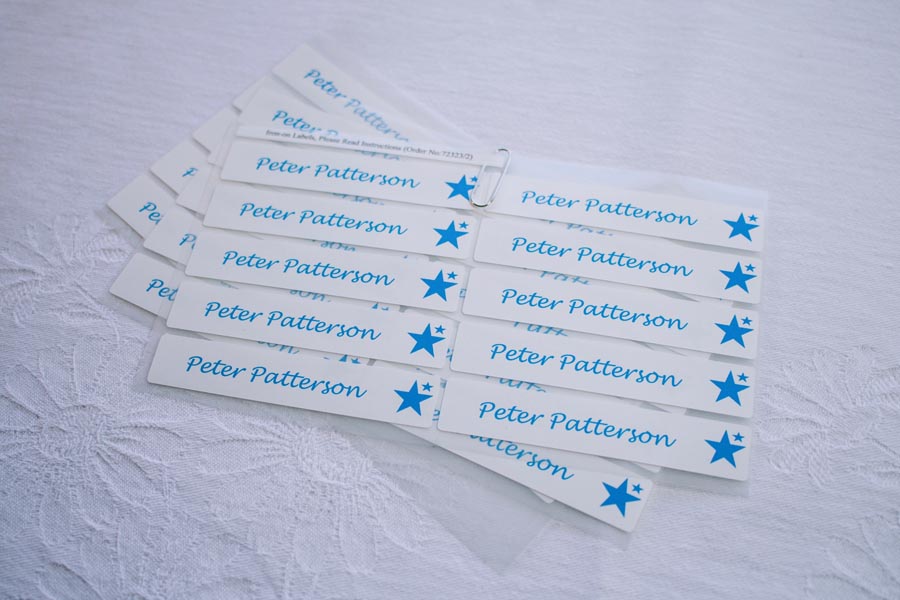
Instructions for iron on labels. Iron-on Label Instructions - Maple Labels Iron-on Label Instructions Heat up iron and set it to cotton, no steam. (Read garment care instructions before ironing) Place label on a dry garment (text side up). Press iron firmly and hold for about 4 to 6 seconds. If the labels corners peel off, reapply heat in a back and forth motion for another 2 to 4 seconds. Top 5 tips for applying iron on labels - My Nametags 1. Make sure the clothing is ironable before applying the labels. Iron-on labels need a lot of heat to be applied correctly and some fabrics such as acrylics or other synthetic materials cannot withstand such heat, so we recommend you do not use the iron-ons on these materials. If you still want to risk it though you can lower the temperature ... Iron On Labels for Clothing, Personalized with Your Name (Qty.100) 100% polyester. Made in USA and Imported. Set of 100 Iron On Labels personalized with your name or text. Iron them on with a regular household iron. Guaranteed to stay on your clothing or your money back. SIZE: 1/2" high x 1.75" wide (labels are pre-cut), COLOR: white label with black ink, FONT: Arial. Click on "Customize Now" to place your ... Iron-on Instructions | FAQ | Dutch Label Shop Position the iron-on label where you want to adhere it and cover the label with baking/parchment paper. Do not use wax paper. Step 4: Iron Label for 15-20 Seconds Carefully iron over the baking paper for about 15-20 sec. Move your iron slowly. Wait approximately 2 minutes before you remove the baking paper. You Are Done! Your label is now ready!
How to Iron On Quilt Labels - YouTube Linda shows you how to iron on quilt labels.SHOP Best-Ever Iron-On Quilt Labels: on materials used ... Printable Fabric Instructions for Avery 3384 | Avery.com Pre-heat your iron on the highest heat setting; Place transfer directly onto your substrate face up (shiny side down) and start ironing with medium pressure. Full sheet: 1 min. Half Sheet: 30 seconds. 1/4 Sheet: 15 seconds; If you see any lifting on the side or corners then iron in those areas for another 5-10 seconds if needed; Heat Press ... Woven iron-on and self-adhesive garment labels - technical info Note that the labels are not removable anymore. Here are some instructions for the application: - Temperature: 150° C (iron level 2) - Contact time: 20 seconds - Contact pressure: 1,0 Kg / scm - Drying time: 48 hours - Do not use hot steam! Self-adhesive garment labels. Self-adhesive garment labels are virtually like normal stickers. 9 Tips for Applying Iron-on Labels - Wunderlabel 21-11-2017 · When beginning to iron your labels, place the iron on it and do not move it for 10-20 seconds. This allows the adhesive time to warm up across the label. Shift the iron slowly to focus on the edges and corners of the labels, applying firm pressure to ensure good contact between the label and the fabric. Use the point of the iron for this detail work.
Quilt Label Fabric Sheets | June Tailor Design, print, and iron on your quilt label. Either create your own design or use one of the templates provided by June Tailor's creative team. Click on the label title below the design to download and use. Autumn Blocks Baby Label 1 Baby Label 1 Buttons Corner Blocks Crazy Block Daisies Double Pinwheel Floral From My Heart Geometric Ivy Tips and Information on How to Iron on Clothing Labels 4. Iron on top of the label firmly for a few seconds to keep it straight and in place. Then, re-iron over the top, moving the iron around, for several more seconds and at the same time push down back and forth. MOST modern irons have a … Applying Iron-On Labels & Transfers - StickerYou Tutorials StickerYou's Custom Iron-On Labels & Transfers are easy to apply to most fabrics (dark or light garments, cotton, polyester, cotton/poly blend). They have be... Make DIY Iron-On Fabric Name Labels | The DIY Mommy Instructions: Cut a piece of the Heat n Bond into a standard letter paper size (8 ½ " x 11") so that it will easily feed through your printer. Fuse the Heat n' Bond to the cotton canvas fabric with an iron on low heat (follow the directions on your Heat n Bond packaging). Trim the fabric to the size of the Heat n Bond.
Iron On Labelling Kit From £1.00 | The Works
How To Iron On Labels Here is a quick guide on how to iron on labels. It's called "The Pick Test" 1. Iron your label as per the included instructions with your packet 2. Wait for the garment and the label to cool down (sometimes up to 5 minutes) 3. Then try and pick the label off your garment at the edges using your fingernail 4.

My Brick Store: Sheng Yuan SY360A Iron Man Mecha Hulkbuster
IRON-ON LABELS - BARCODE - 100 LABELS - Spur Name Tapes Custom produced labels cannot be returned. PRESSING INSTRUCTIONS 1. Turn iron to cotton setting 2. Allow iron to heat up and turn the steam off 3. Use an ironing board 4. Place label (print side up) on clothing item 5. Place pressing cloth (very thin piece of fabric) over label 6. With an iron, apply stationary pressure to pressing cloth for 10 ...

Our Iron-On Labels Guide For Perfect Personalisation | Stuck On You
Custom Iron-On Labels | Top Quality | StickerYou Once peeled off, place them onto your fabric in the alignment that you want, put your parchment paper on top of the iron-on label, and iron away! Keep in mind, the die-cuts on our iron-on pages are extremely thin and precise. This can make seeing the actual cutout shape hard to see.
Iron-on Labels | Iron-on labels and Stick-on labels for kids | NameLabels.ie
How to Apply Custom Iron-On Labels and Transfers - StickerYou Applying your StickerYou custom iron-on labels and transfers is easy! Our iron-ons can be used on light and dark garments made of cotton, polyester and poly/cotton blends. They have been washer and dryer tested and will not fall off or melt, if applied properly. Watch this video and learn how to apply your iron-ons.

Iron on Labels | cplshop
Printable On Iron Vinyl Search: Printable Iron On Vinyl. Australian business Goof-proof guarantee and Free Installation Tool with every order Oracal 620 Screen Print Vinyl White, Matte, 27" x 38" - 100 sheets/Box $115 Thank you for visiting Rhinestone Design by Denise With over 28 different colors plus a large selection of samplers (rolls of three 12" x 24" sheets that come in different colors), there are a lot ...
Iron on Labels, Personalized Iron on Labels, Shop Our Options
Iron on Label Instructions - Ribbon Print Applying the label Choose a NON-STEAM wool setting on your iron Use the smooth "heel" of the iron only Ensure your fabric is SMOOTH Iron the fabric area briefly Apply the label and press with the heated iron for 10 seconds WITHOUT movement Allow material to cool for approximately 45secs then repeat step 5 Cool and iron label a third time

How to Layer Iron On Vinyl | Cricut iron on vinyl, Layered vinyl, Iron on vinyl
How to Remove an Iron On Label - Wunderlabel Set iron to medium/high heat and turn off the steam setting. Let the iron heat up fully. Place the garment flat on an ironing board with the label you wish to remove easily accessible and cover the label with a sheet of parchment paper. Using a circular motion and steady pressure, iron on top of the parchment paper for 10-15 seconds.

Pin by Basil on Crafts/DIY | Garment care symbols, Laundry care symbols, Care symbol
Iron On Label Information - Iron-on MD Labels Label Information. Our iron on labels are thin, soft and comfortable to wear on the inside or outside of clothing. Irononmdlabels.com's personalized iron on clothing labels are guaranteed to be wash proof and remain legible. Complete simple to follow instructions, with helpful hints on where to apply our labels are enclosed in every order.
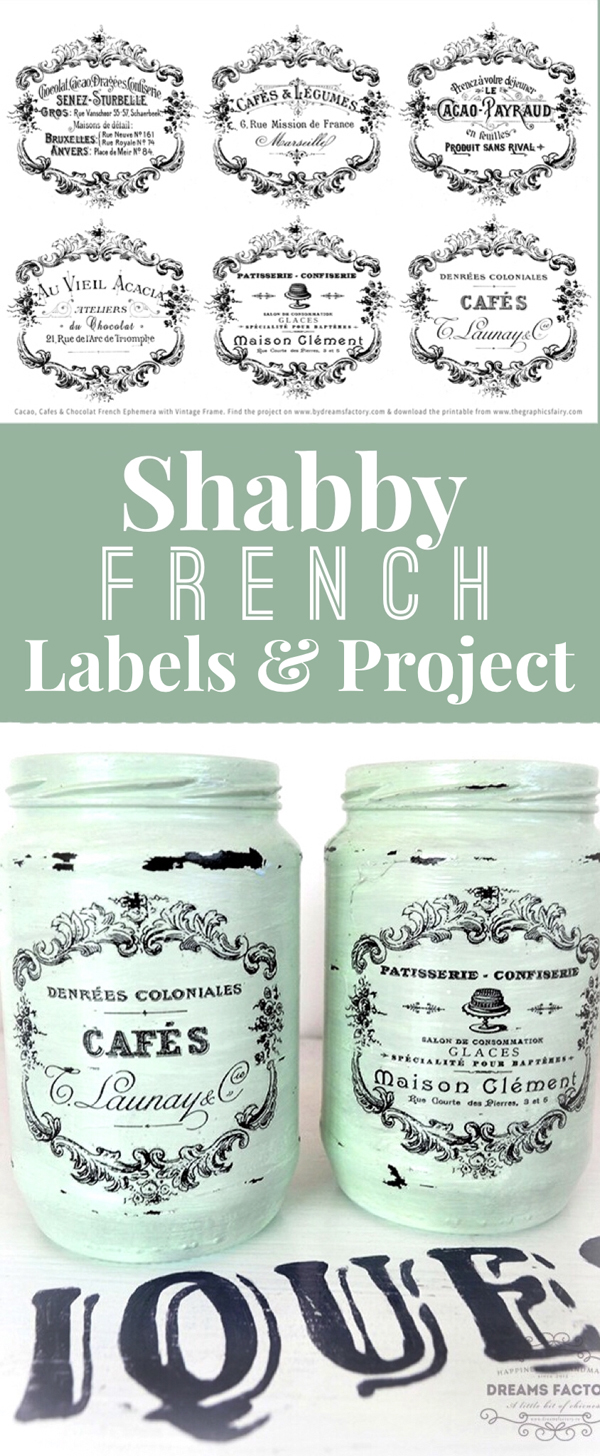
Shabby French Typography Labels + Project - Gorgeous! - The Graphics Fairy
How do I apply Iron-on Labels for clothes? – Stikets Important instructions for applying Iron-on Labels: Adjust iron temperature to high. Turn off steam and empty the water tank. Place the parchment paper provided on top of the label. Iron label for 8 to 15 seconds. Steps: Carefully remove Iron-on Label from the support and place the label on a clean, dry clothing. Cover the Iron-on Label with the parchment paper provided.
How to Iron Labels
How to Make DIY Iron On Labels - Abby Organizes With my EasyPress heat press heated to 315 degrees, I pressed the label for about 15-20 seconds on cotton material and 10-15 seconds on dri-fit material (3). I lifted the press and removed the parchment paper, and my label was adhered (4)! Modifications for Non-Cricut Users You will go through the same pressing process with a traditional iron.

Large Iron-On clothing Labels
Instructions for an Avery Iron-on Transfer | eHow Step 5. Set the trimmed iron-on transfer onto the item you want to apply it to, in the desired place and direction. Press the transfer with the iron, applying firm, even pressure. Make slow, 20-second passes across the transfer area, left to right and top to bottom. Cover the area entirely using overlapping passes.

Care Label : Woven, Printed Satin & Cotton Care labels
Custom Iron-On Labels & Tags | Dutch Label Shop Iron-On Labels That Give Your Work a Professional Boost Unique Iron-On Labels To Express Your Creative Vision Get Started Fantastic Iron-On Labels, Even Better Service Fast turn-around time Place your order & get your labels for clothing in 10-14 days. Yeah, we're that quick. Big or small, we make them all Have a truly original design challenge?

Clothing garment care label symbols and instructions. Woven iron on patch and nonwoven labels
Iron on labels - Wunderlabel Should the iron on labels start to lift after multiple washings, simply cover with a sheet of parchment paper and iron to reactivate the adhesive. If for any reason you wish to remove the iron-on labels then please follow the instructions on our blog . What Kind of Iron On Clothing Labels Does Wunderlabel Offer?

Clothing garment care label symbols and instructions. Woven iron on patch and nonwoven labels
Iron on Label Instructions - Ribbon Print Choose a NON-STEAM wool setting on your iron. Use the smooth “heel” of the iron only. Ensure your fabric is SMOOTH. Iron the fabric area briefly. Apply the label and press with the heated iron for 10 seconds WITHOUT movement. Allow material to cool for approximately 45secs then repeat step 5. Cool and iron label a third time. Garment is …

Iron on labels
How to use personalized cotton labels and satin tags from ... - EverEmblem 1. Peel the paper off your label before sewing. This will reveal a thin layer of laminated backing that prevents the cotton from fraying. 2. (optional) If you'd like to hold your label in place before sewing, iron it against your item for a couple of seconds and let cool completely. 3.
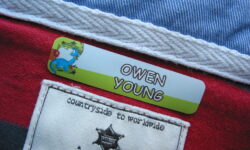
Children | Family I.D
How to Apply Iron On Labels - Wunderlabel 17-11-2016 · To ensure your iron on labels look great and last a long time, proper adhesion is key. This is easily done by following a few simple steps. Let’s get started! Iron-on Labels from Wunderlabel. Wunderlabel offers a variety of iron-on labels. Choose between printed (46 x 12 or 50 x 20 mm) or woven iron-on labels (60 x 15 mm or 60 x 20 mm).

Home Ec: How to Protect Your Furniture From Pets – Design*Sponge
How to Use Our Labels | Iron On, Wrap Around & Sew In Labels
Post a Comment for "44 instructions for iron on labels"